
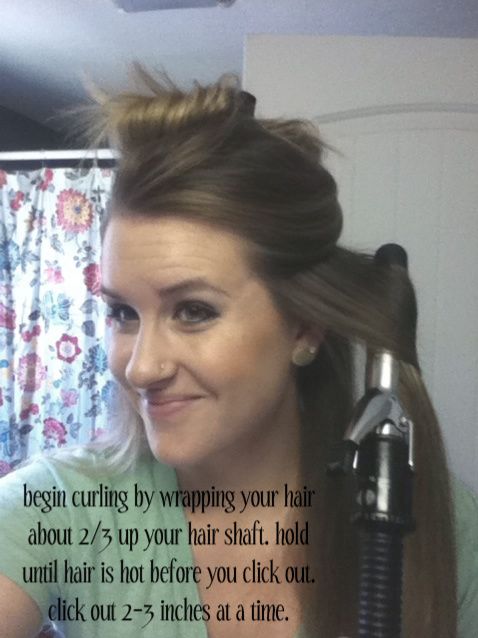
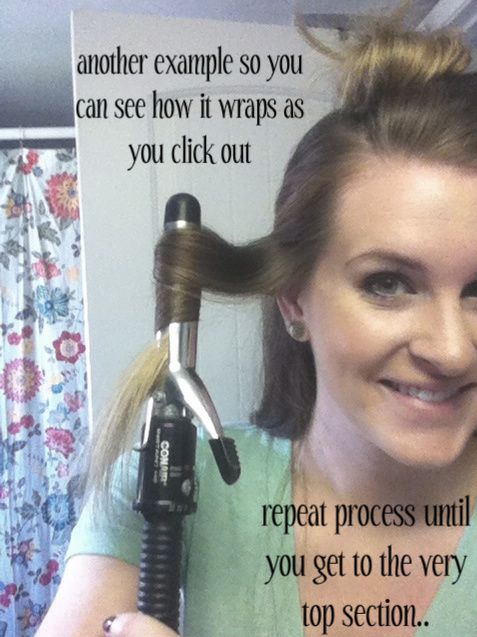
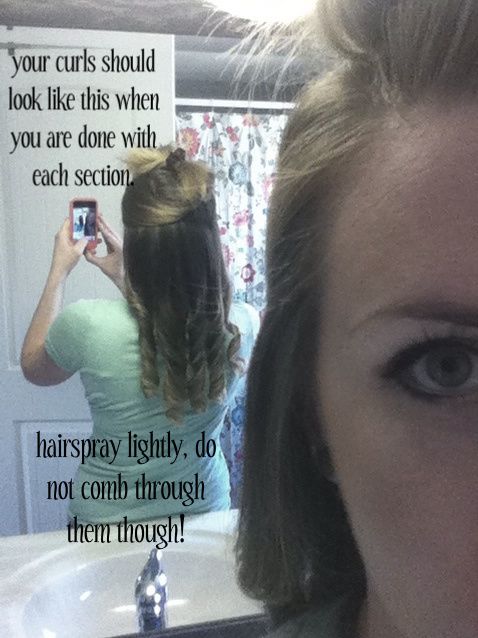
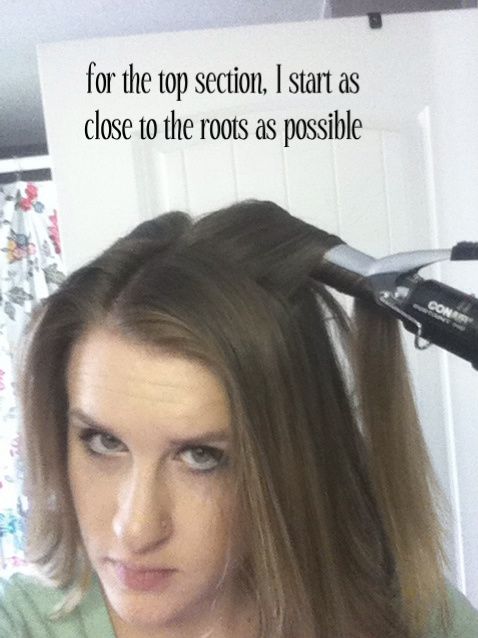
 |
| perfection : a subtle fade from dark to light [source] |
 |
| ugly : overdue for a highlight touch up [source] |
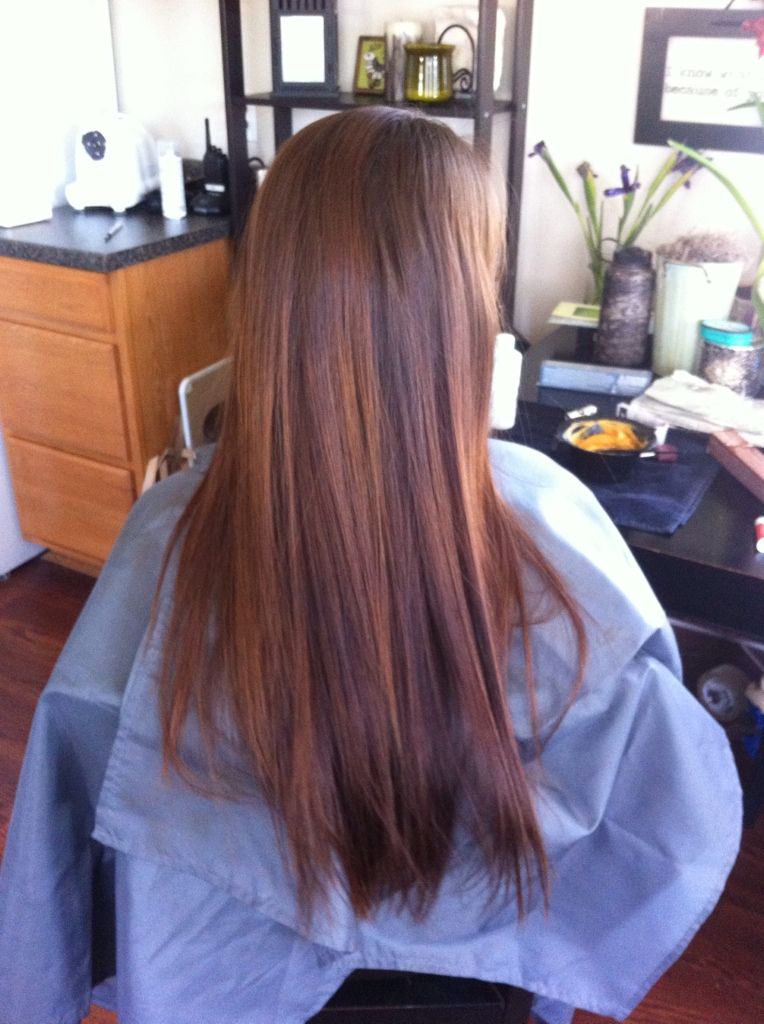
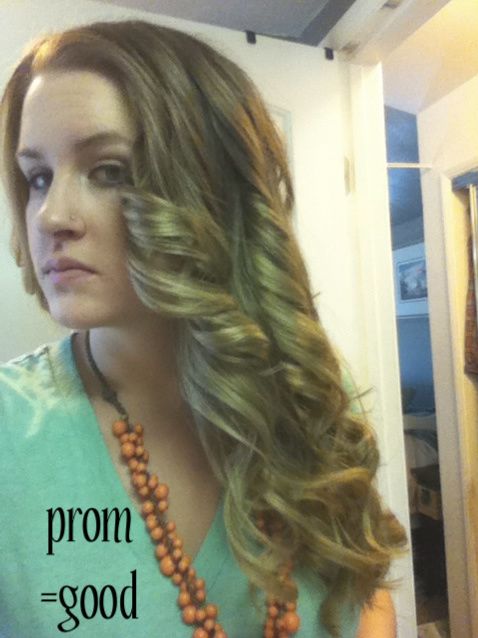
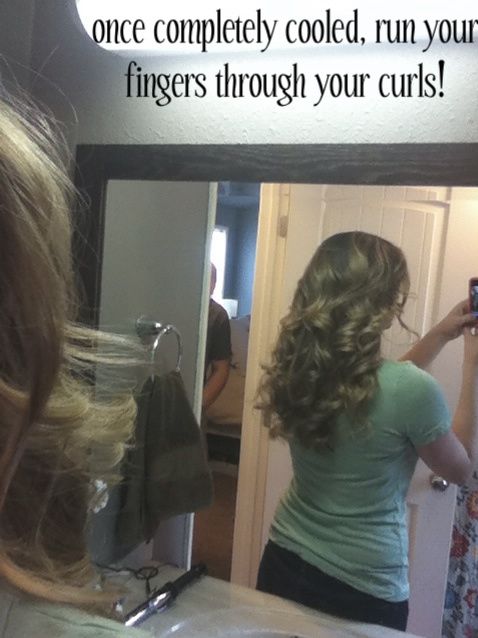
Before:
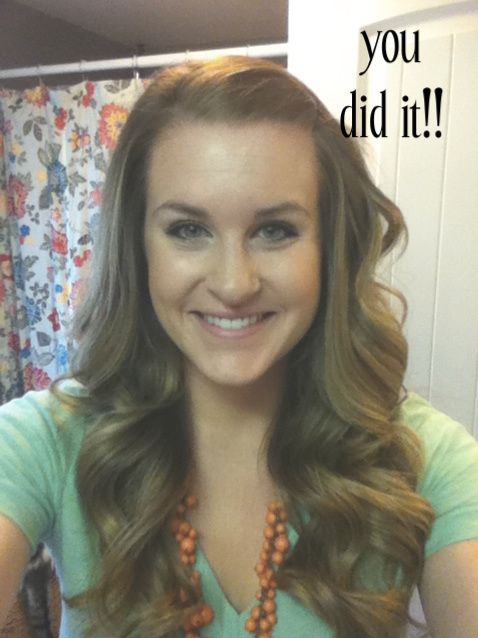
After:
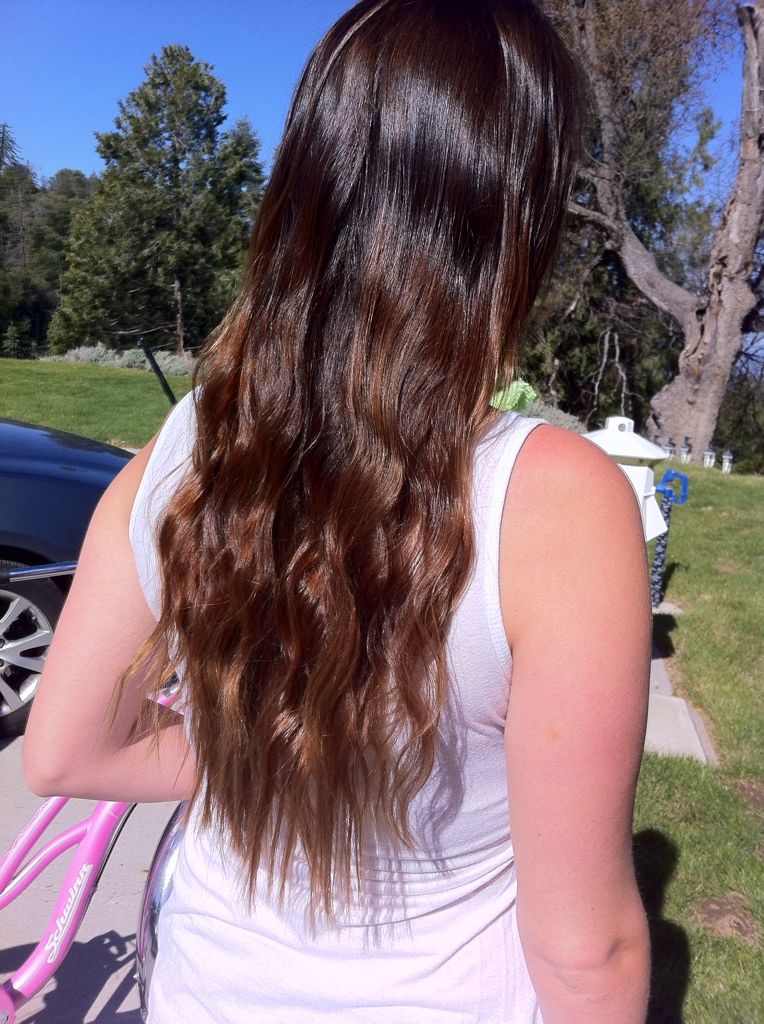

So what do you think?! It's not that orange in person.. these are with my iPhone in direct sunlight. I wish I had better pictures!
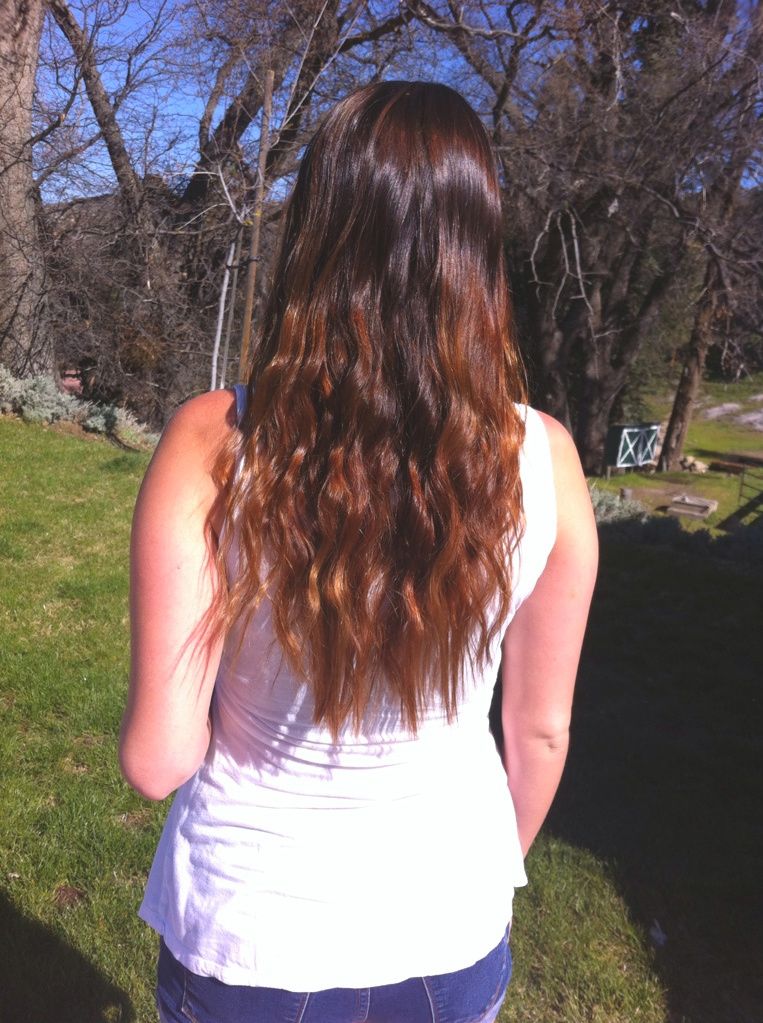
After doing this, Lauren sent me a pic of her new ombre .. umm GORGEOUS!!


